Using a stud finder, find two studs on the wall were you want to place your Slide-A-Jar rack.
Mark the edges of both studs and mark the center on the first stud were you are going to start drilling.
Do this same process for the other stud as well.
Step 2
Have someone help you hold up the Slide-A-Jar so that you can drill one screw on the top left, about 4/5 of the way in.
Step 3
Then swing the bottom part up, and line it up to the other stud; make sure the holes are lined up in the middle of the stud.
Step 4
Screw the right (either) screw in, then complete the process with the rest of the screws and tighten.
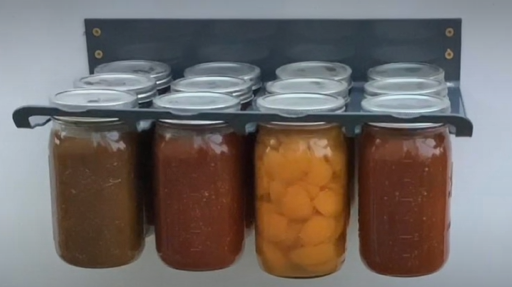
Step 5
Grab your Mason/Ball or Kerr jars and tilt the bottom of the jar towards the wall, make sure the neck of the jar slides into the rack, then Slide-A-Jar into the rack.